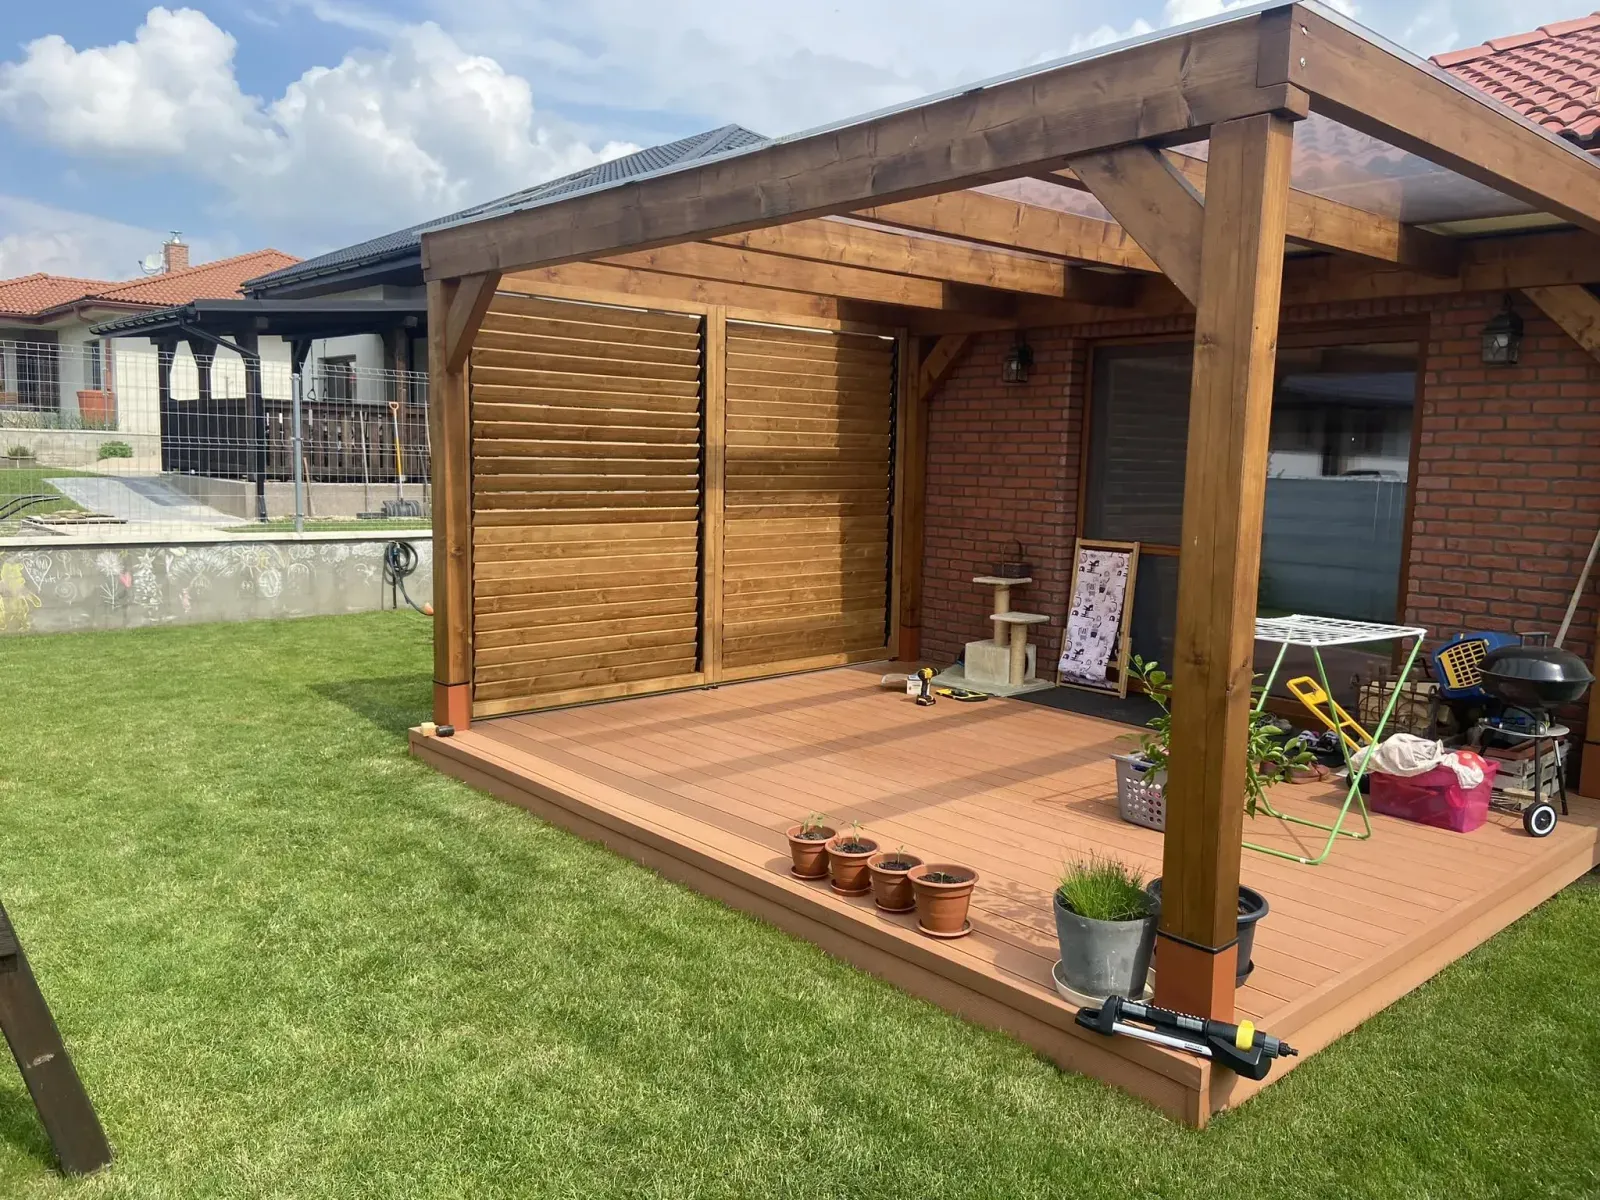
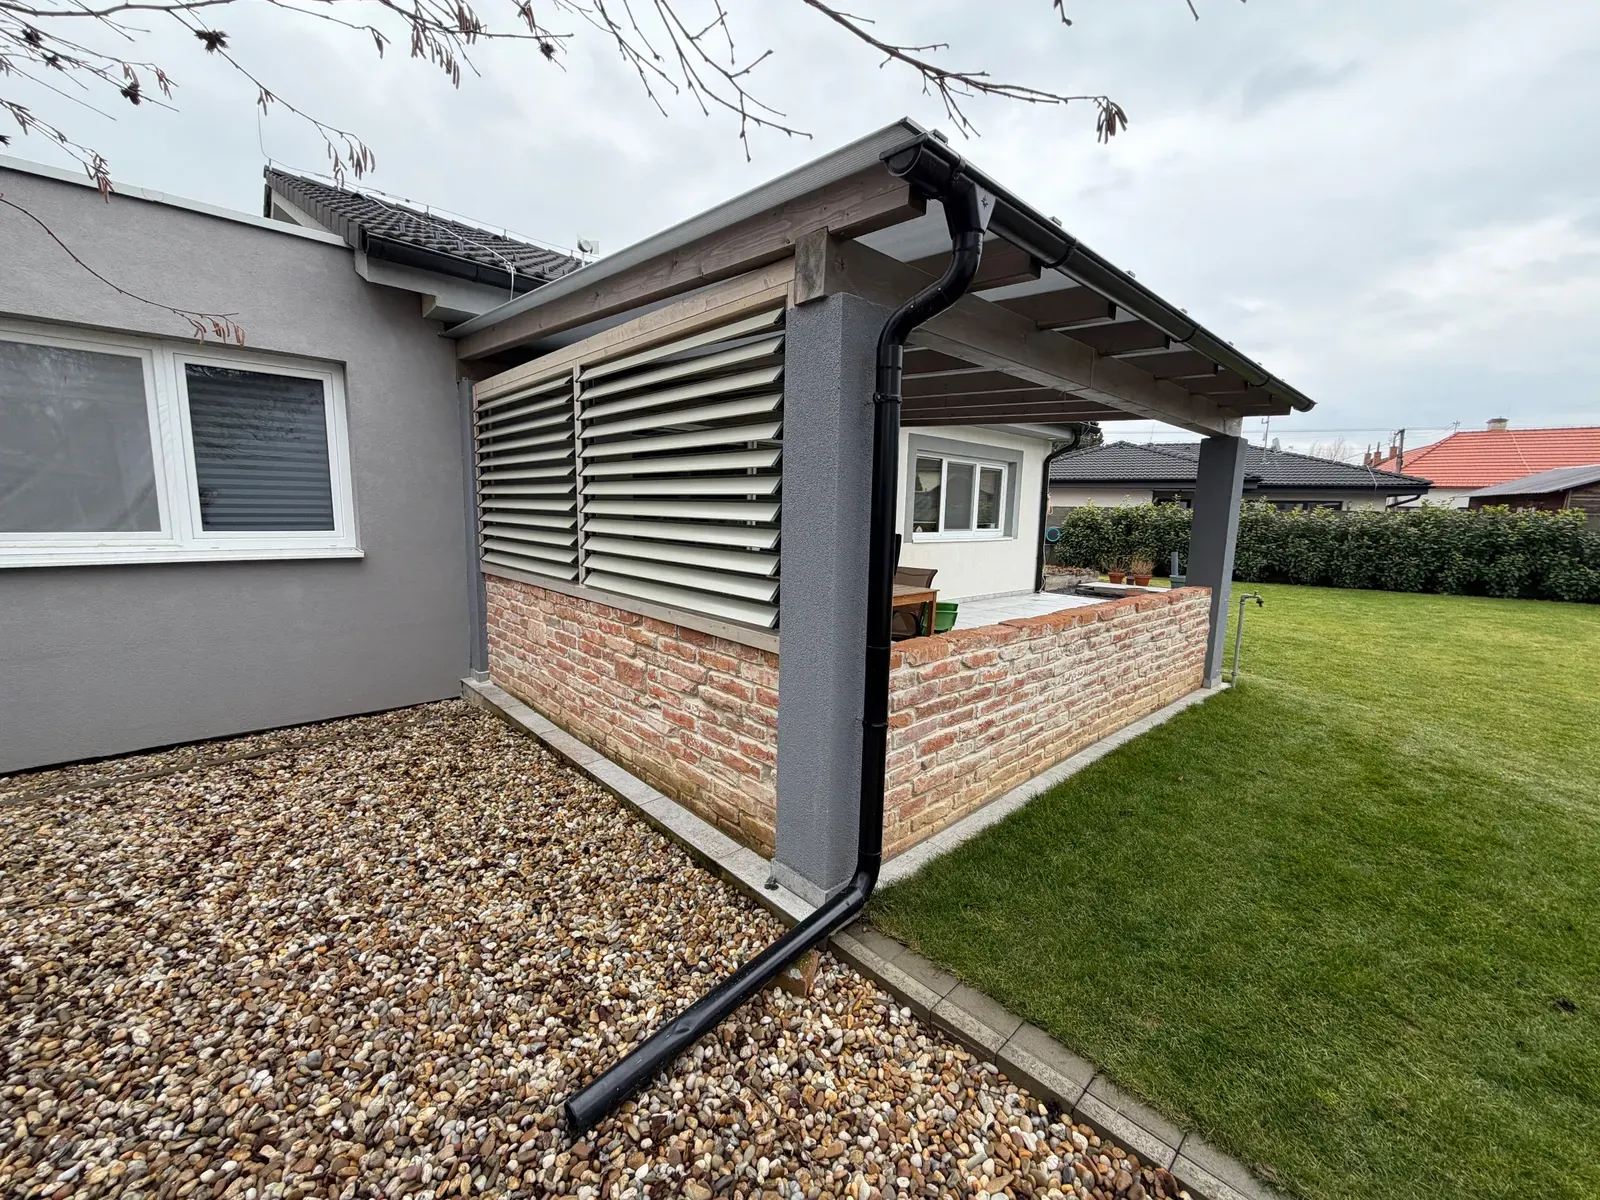
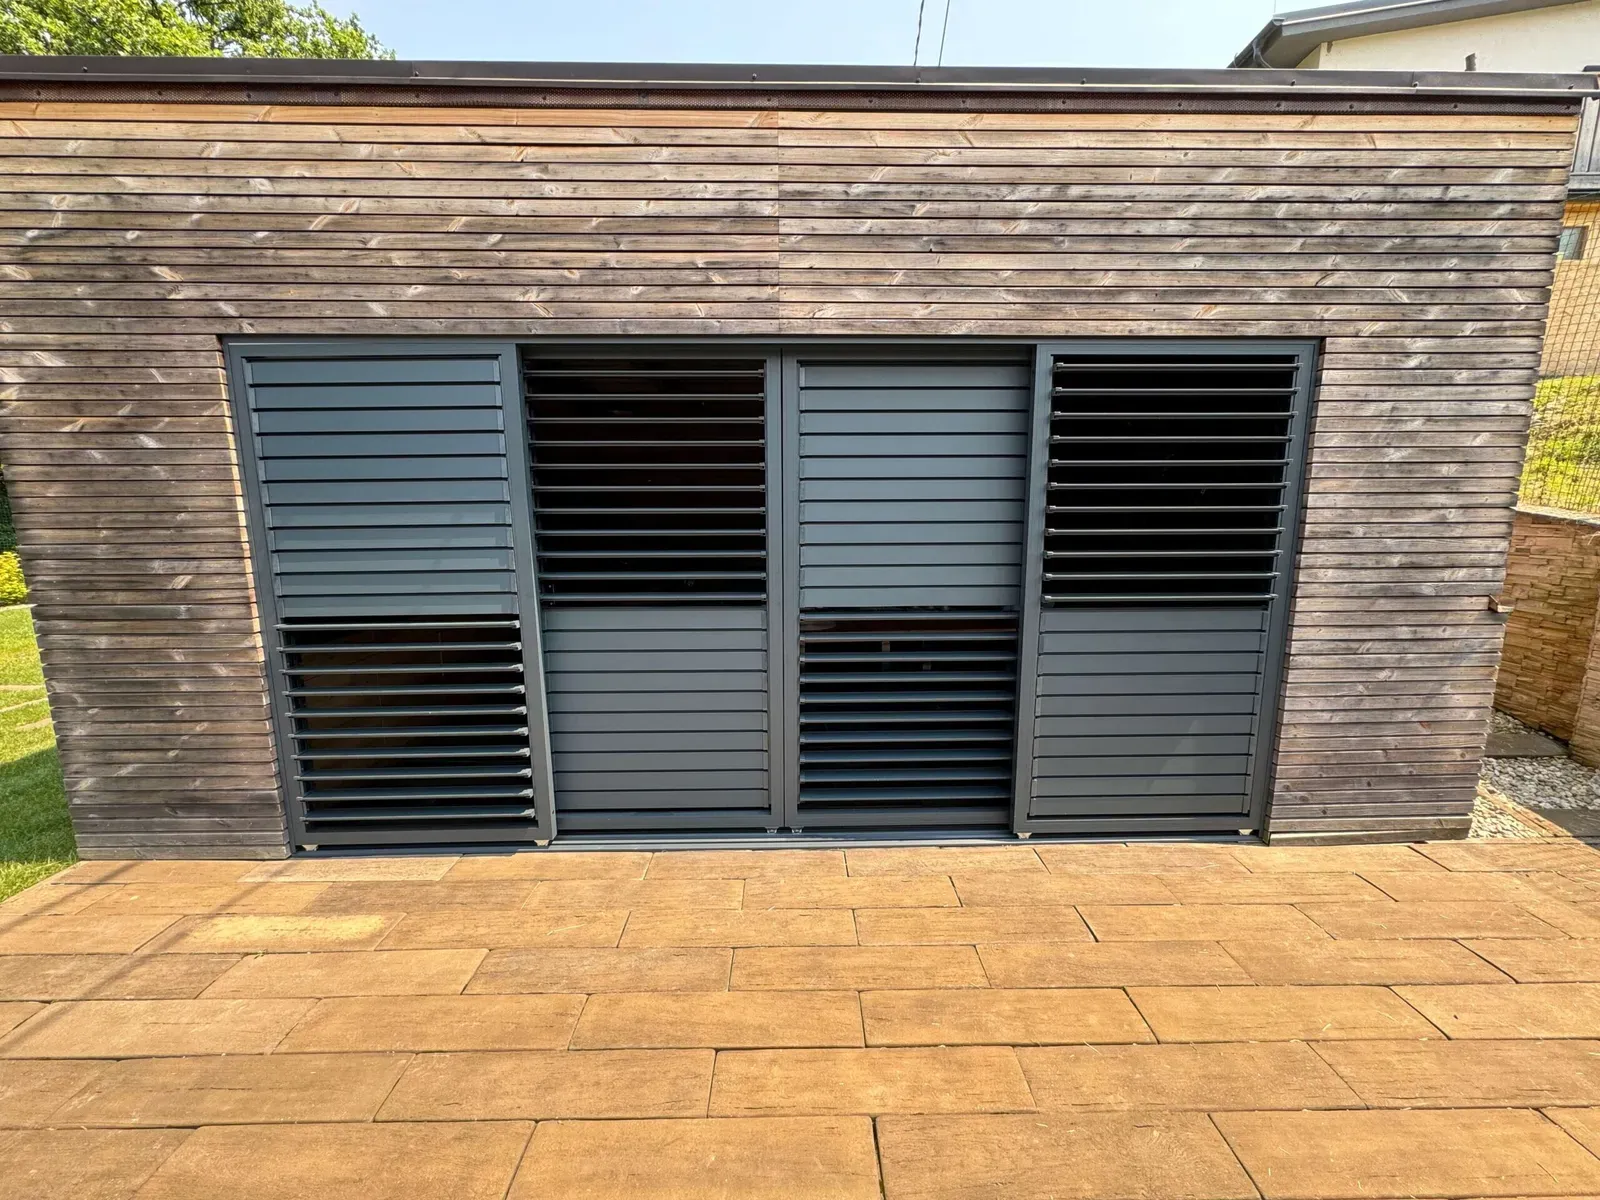
How to measure for rotating louvres: width, height and photos
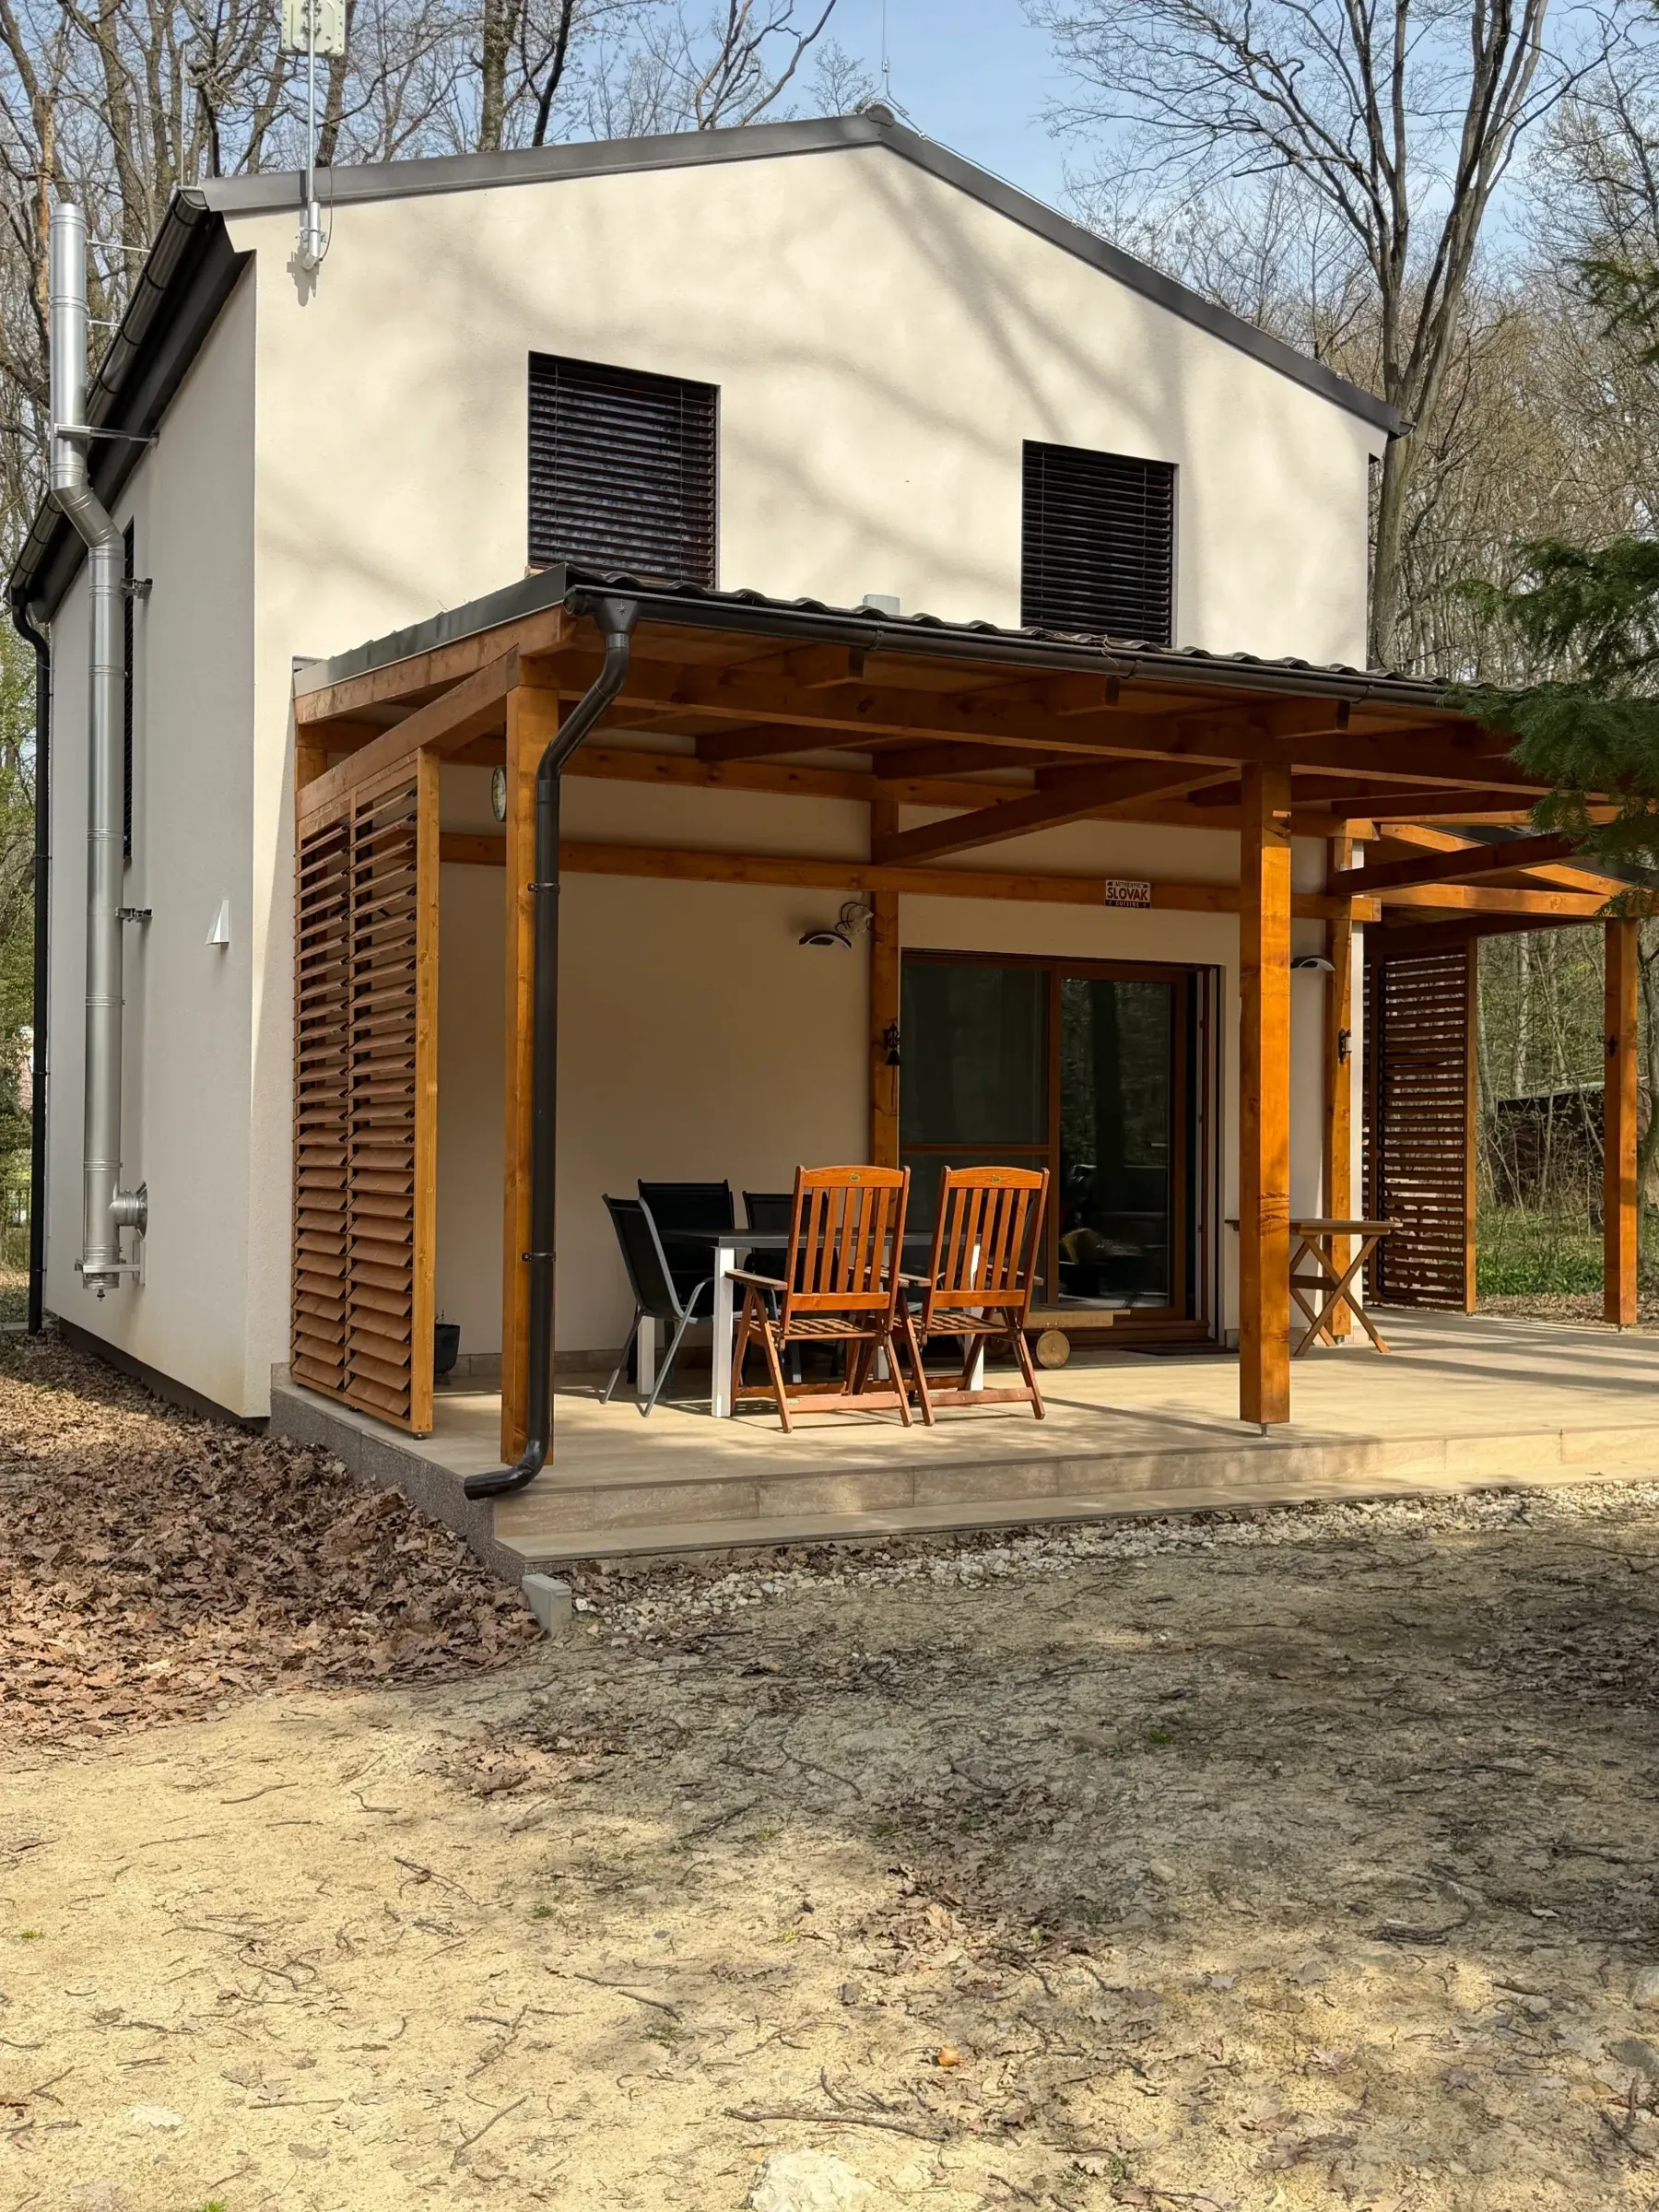
Measure the space for rotating louvres at three points. Measure the width at the top, middle and bottom, and the height on the left, in the middle and on the right. Note down every measurement, as the smallest one is the deciding factor. For an initial design, a photo of the space and approximate dimensions are enough. Before manufacture, our technician will carry out an accurate on-site measurement.
How to measure the width and height
Posts, walls, floors and ceilings may not be completely level or straight. Differences are often invisible to the naked eye but become apparent when measured.
- Measure the width between the posts or walls at the top, middle and bottom.
- Measure the height from the floor to the upper fixing point on the left, in the middle and on the right.
Include all measured values in the information you send us. The smallest dimension indicates the narrowest or lowest point into which the frame must fit. Differences between the measurements also show us whether the opening is uneven. We will design the frame configuration to suit the space. If the frame is to be sliding, also measure and photograph the clear space beside the opening.
If you plan to assemble the frame yourself, see our kit for a DIY build. With this option, the customer is responsible for both measurement and installation.
Sloping and uneven floors
Terrace or balcony floors are often sloped to allow water to drain away. As a result, the three measured heights may differ. Each frame stands on adjustable feet with a range of 1–5 cm, which are included as standard.
- They compensate for the slope, keeping the frame vertical even on sloping paving.
- They separate the timber from the paving, preventing the frame from coming into direct contact with a damp surface.
For DIY installation, you can use the M10 adjustable foot. We can account for a sloping ceiling, uneven surface or an unusually shaped opening in the design. It is important to photograph the entire space as well as the specific area where the unevenness occurs.
Photos needed for the design
- The entire space, showing the beginning and end of the opening.
- The upper fixing point, such as the ceiling, lintel, pergola beam or façade.
- The lower fixing point, such as the floor, paving or ground.
- Any unusual features, such as a slope, step, channel or insulated façade.
If you know what the wall or fixing point is made of, include this information with the photos. If you are unsure, the technician will check it during the on-site measurement.
What the technician will check
The technician will accurately measure the opening on site, design the frame configuration and determine the fixing method. They will also bring a physical colour sample book. We can fix the frames to façades, including insulated façades, as well as to aluminium and timber. For external insulation, we use special fixings designed for this type of installation.
Frequently asked questions
Do I need to measure to the nearest millimetre before receiving a quote?
No. For an initial design, a photo of the space and approximate width and height are enough. Our technician will take the final measurements before manufacture.
Why is the smallest measured dimension used?
The frame must fit into the narrowest and lowest part of the opening. That is why we need all three width and height measurements.
Who is responsible for measurement with a DIY build?
With a DIY build, the customer is responsible for both measurement and installation. You can find a practical comparison of the options in our article about DIY rotating louvres.
Summary
Measure both the width and height at three points, note down every value and use the smallest one for the design. Adjustable feet with a range of 1–5 cm help compensate for a sloping floor. A standard tape measure is enough for approximate dimensions; we then use a laser for the final on-site measurement. Send us your photos and approximate dimensions using our free no-obligation quote form.